Watercolor Nail Tutorial

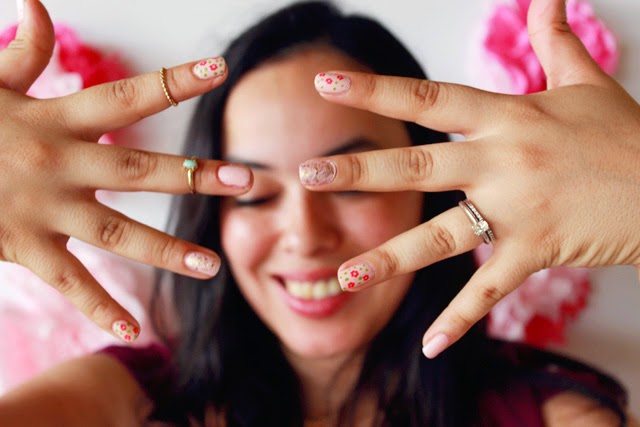
 As you may know, I've been playing around with watercolor lately practicing painting and lettering. I usually wake up pretty early on the weekends and that's how I like to spend my mornings while Chris is still sound asleep. This past weekend the idea of using watercolor on my nails just popped into my head and so I gave it a try. I was really excited to see that it worked. I've been wearing this on my nails for the past two days and have been loving it! Whenever I'm at work it just reminds me of the creative artsy side of me and that makes me happy.

 1. Start off by painting your nails with a white polish.

2. Dip a paint brush in some water and then squeeze out the excess water. You only want the brush to be slightly wet.

3. Dip brush into watercolor. Since the brush is just wet enough to pick up some color, I found that it helped to push the brush down with my finger to press it down into the paint to pick up the pigment.

4. Brush strokes onto your nail. It should only take about 30 seconds to a minute for the watercolor to dry. If the brush is too wet, you will see that the watercolor goes onto the nail as beads of water. If that happens, just pinch out the excess water from the brush, dip back into paint, and apply to nail.

5. Let the paint dry and then add on more layers of color to your preference.

6. Once the watercolor is completely dry, top with a clear coat.
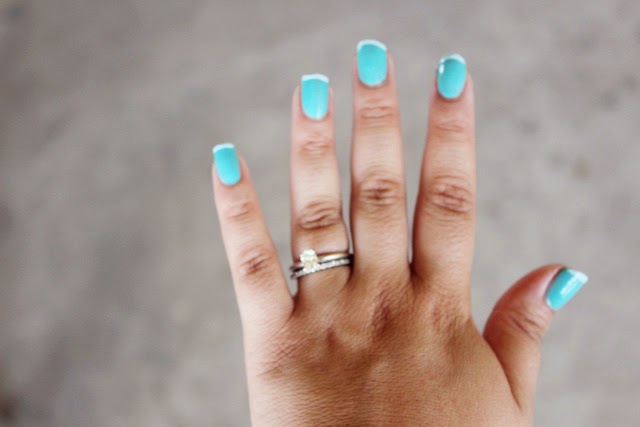
All done!!!!

If you try this let me know. Tag your pics on instagram with #sobdlife

xoxo erica

A Month of Florals // Easy Floral Nails

 
 Do you do floral nails? This was my first time trying a floral design and I'm completely loving this ultra girly style. I tried another design of a more painted rose look but using a dotting tool to create this style of flower was really easy. When doing designs on myself, I always like to go with something that's easy enough to paint on both of my hands. I went with a classic pink and green color combo but go with whatever you fancy...have fun with it.
 I placed a little bit of polish on a piece of paper. Leaving the polish on the paper too long will cause it to get tacky, so I suggest doing the floral design on both of your at the same time rather than doing one hand completely and moving on to the next. Of course you can always dip the dotting tool in the polish instead...it's up to you.
 Dip the dotting tool into the polish and form your flowers. My flowers are six dots. If you don't have a dotting tool, don't worry. You can always put a pin into the end of a pencil eraser and use that like I did in this candy button nail tutorial.
 Add a few green polka dots.
 This part is totally optional, but I added a glitter accent nail as well. You can never go wrong with a little sparkle right?
And they're all done!! If you try this, I would love to see. Share it with me on insta #sobdamonthofflorals

xoxo erica

Tuesday Three Way // Summer Nail Ideas

Sally Hansen Dive In, NYC Pink Promenade Creme, Essie Tart Deco, L'oreal Royally Yours
I've been loving all the bright nail polishes that are out right now and fell for this gorgeous blue on our last trip to Target. I think that Chris is catching on to the fact that when I say, "let's go grocery shopping at Target" it really means, "let's get a few things to eat while I get all the other stuff I really want like clothes, magazines, or in this case nail polish". haha Hopefully he's not though.  Last year I got into nail art and even shared a few tutorials on the blog. I haven't in awhile and thought it would be fun to share a few quick ones to get you excited about summer since it's right around the corner. 
 Summer Silhouettes
This reminds me of summer sunsets and really makes me think of the beach...my happy place. 
I did palm trees which were pretty easy to draw with a nail art pen. Just a simple curved line for the trunk, small curved lines for branches, and then adding leaf like points. Let the palm tree go solo or add another :) 
Wouldn't this be fun with flamingos too!?! 
 Pops of Color
This nail idea is what I would call summer fun...the combination of bright and bold colors are perfect for summer. I made this effect by simply dipping a q-tip into some polish. The dots don't come out completely perfect but I like it that way. Once the first color dries, add another color of dots just slightly off the original ones. Have fun with the color combinations.
 Pastel Tips
This look is great for when you want something a bit more classic but with a fun twist. I went with the bright blue as my base and used the pastel polish for my tips but I think it would be just as pretty reversed. Simply put a strip over the base polish once it's dried and pat it down to make sure everything is sealed off so when you paint the tips the polish won't bleed over.  Paint the tips and remove the tape once dry. If you feel confident enough with a steady hand you can free hand painting the tips.
Fun right? Do let me know if you try any of these!

xoxo erica