DIY // Wink Banner

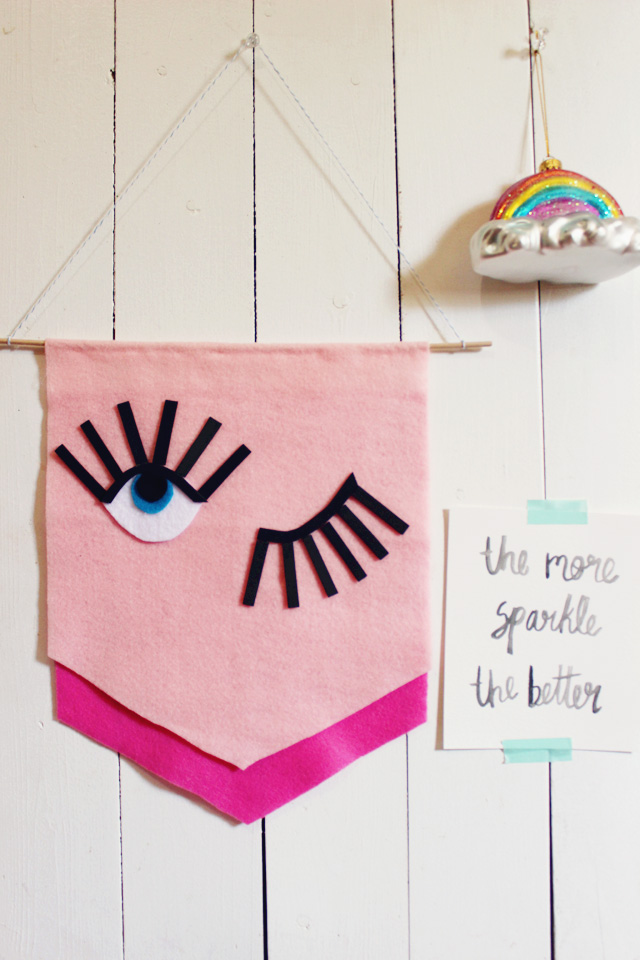
Recently Chris gave me a designated area to blog in...somewhat of a semi office :) I was so excited because it's just what I needed to get back to regular posting here. I've always done projects in any little space I could find so I was super happy to get my own corner to stay focused in. I really wanted to put something "fun" and I've been loving the winking eye trend lately. This project was really fast, easy, and inexpensive and really added that extra something I was looking for!

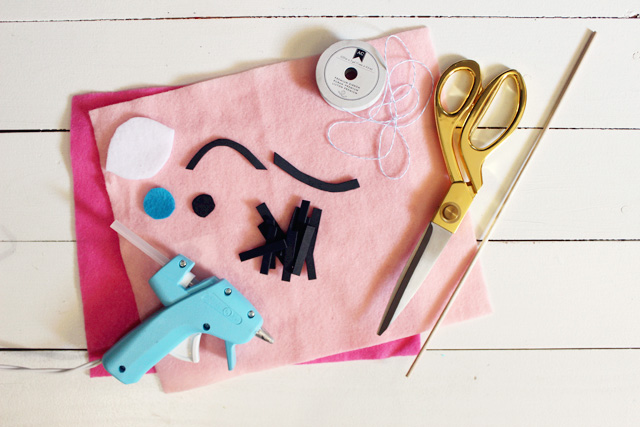
 Supplies: 2 full pieces of felt, (For the left eye) : 1 white oval piece of felt, 1 small blue circle piece of felt, 1 small black circle piece of felt, 1 black rainbow piece of felt, (Right eye) 1 black slanted piece of felt, (Eyelashes) 12 small rectangle pieces, craft stick, string, and glue gun

 1. Glue all of your left eye pieces together and then glue left eye and right eye to felt.

Add 6 eyelashes for each eye.

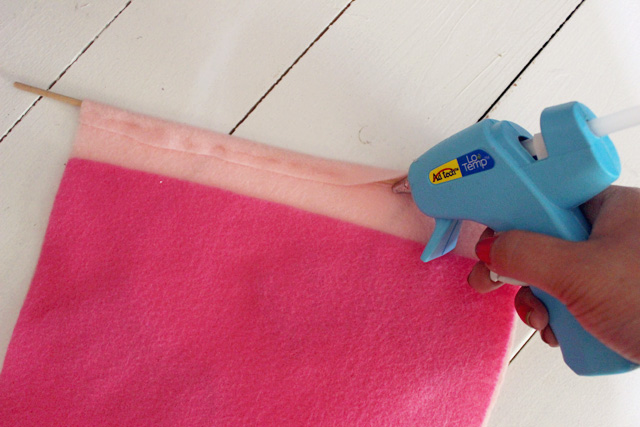
2. Glue the craft stick to the first piece of felt and roll under. Add the 2nd full sheet of felt slightly under that.

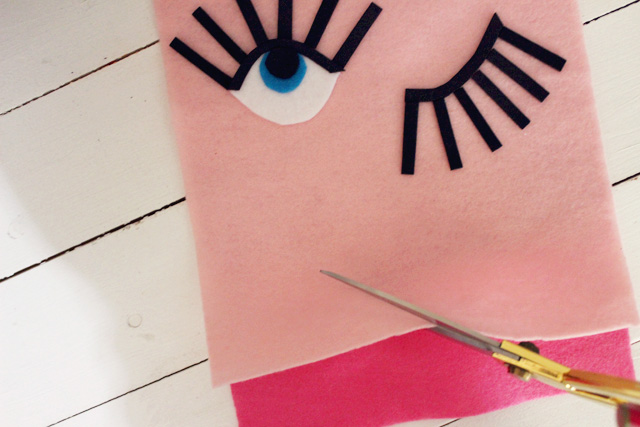
3. Cut the ends of each piece of felt at an angle.

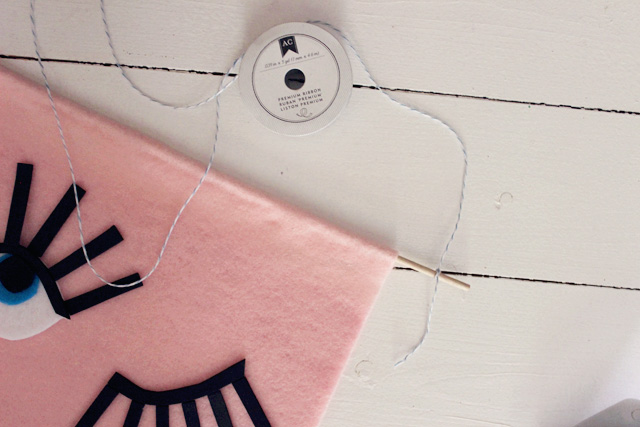
 4. Add the string to the craft stick by knotting at each end. I also add a dab of hot glue on the knot to keep in place.

Ready to hang!!!! Hope you enjoy your new fun and quirky banner!!!

xoxo erica

DIY // Simple Dip Dyed Wall Hanging

 I'm constantly inspired by new things all the time and if it's simple enough I try to make it myself. Being creative and making things with my hands is king of my thing. Lately I've been seeing these pretty wall hangings made out of yarn and knew I had to give it a try. There are so many variations you can do with yarn wall hangings to really fit your style. I went with a colorful dip dyed version :)
 1. Cut yarn. Each piece will be double the desired length because it is folded in half.
2. Loop onto stick. Fold string of yarn in half, place the loop under the stick. Pull the two ends through the loop. Tighten and pull down. Continue this process until you have the width of desired wall hanging.
3. Fill cup about half way with water and add blue food coloring. Dip about 2/3 of yarn into cup. I left mine sitting for about 5 minutes. Let air dry.
4. Before the yarn is completely dry, dip the ends into a cup with red food coloring, leave in for another 5 minutes and let air dry.
5. Once completely dry, cut yarn going from the outside to center at an angle.
 xoxo erica

DIY Bridesmaid Gift Idea

 It's been a little over two months since I got married. Time flies right?? My three sisters were my Maids of Honor because it was impossible for me to choose just one of them...we are all so close. Throughout the whole wedding planning process, they were with me every step of the way and helped so much with all my crazy do it yourself ideas. After everything had settled and everyone had gotten back to normal life and the days of wedding planning craziness were behind us, I gave them a small surprise to show them that even though the wedding was over, I was still really appreciative of all they did for me.
What I used: Gift bags, Cards c/o Tiny Prints, Flowers, Macarons, Nail polishes, Earrings, Glitter clothespins
 When I put the bag together I really wanted to give my sisters something fun and cute that they could use everyday. I decided to go with earrings and polishes and picked out ones that fit each of their personalities. Oh and you can't go wrong with macaroons! Throughout the wedding process, we would have weekly bridesmaid meetings and sometimes we would try to just do fun things together. One week we tried to make macaroons and I'm sad to say they didn't quite turn out like these lol It was fun though and I definitely need to give macaroon baking another try.


At the end of it all, I think a simple thank you goes a long way. I wrote to each of my sisters and used the card as the "decoration" along with some springy tulips...doesn't it make the prettiest combination?Truth be told, these cards were actually meant for a baby shower...what? Yeah. All the cards from the Tiny Prints site were so easy to customize and these ones I used here, fit my wedding perfectly.
Do you have a special thank you that you need to send out? Definitely give this idea a go :)
xoxo erica