DIY // Collage Heart Dish

  I have a bad habit of taking my accessories off anywhere, the car, the desk, the bedside table, my purse...you name it. I've been known to lose jewelry quite often. I have this jewelry display I use at home but I decided I needed a "place" for my things at Chris' house. I used to love making collages from magazines and wanted to apply that look to the jewelry dish. At first I was going to go with a few images from my pinterest but with Valentine's Day around the corner, I thought a collage based around love would be fun. 
 Supplies: Heart Ceramic, Glitter, Brush, Scissors, Triple Thick Glaze, Glue, & Images
Start by spreading glue to ceramic, sprinkle with glitter, and shake off.
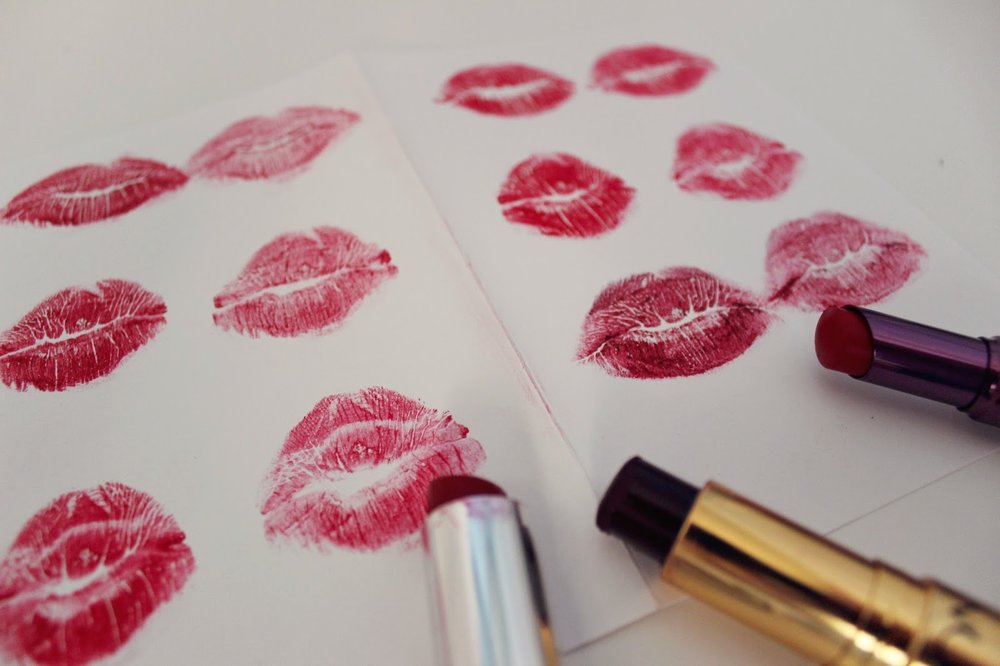
 While the glitter dries, cut up images into shapes or add writing to personalize.
 Think of the collage layout you want, glue down to dried glitter, and then spread triple thick glaze.
 Let dry and you're done!

**easy alternative to simplify this diy**
Trace heart onto cardstock. Then build your collage onto the cardstock. Glue the cardstock down to the dish and cover with triple thick glaze.
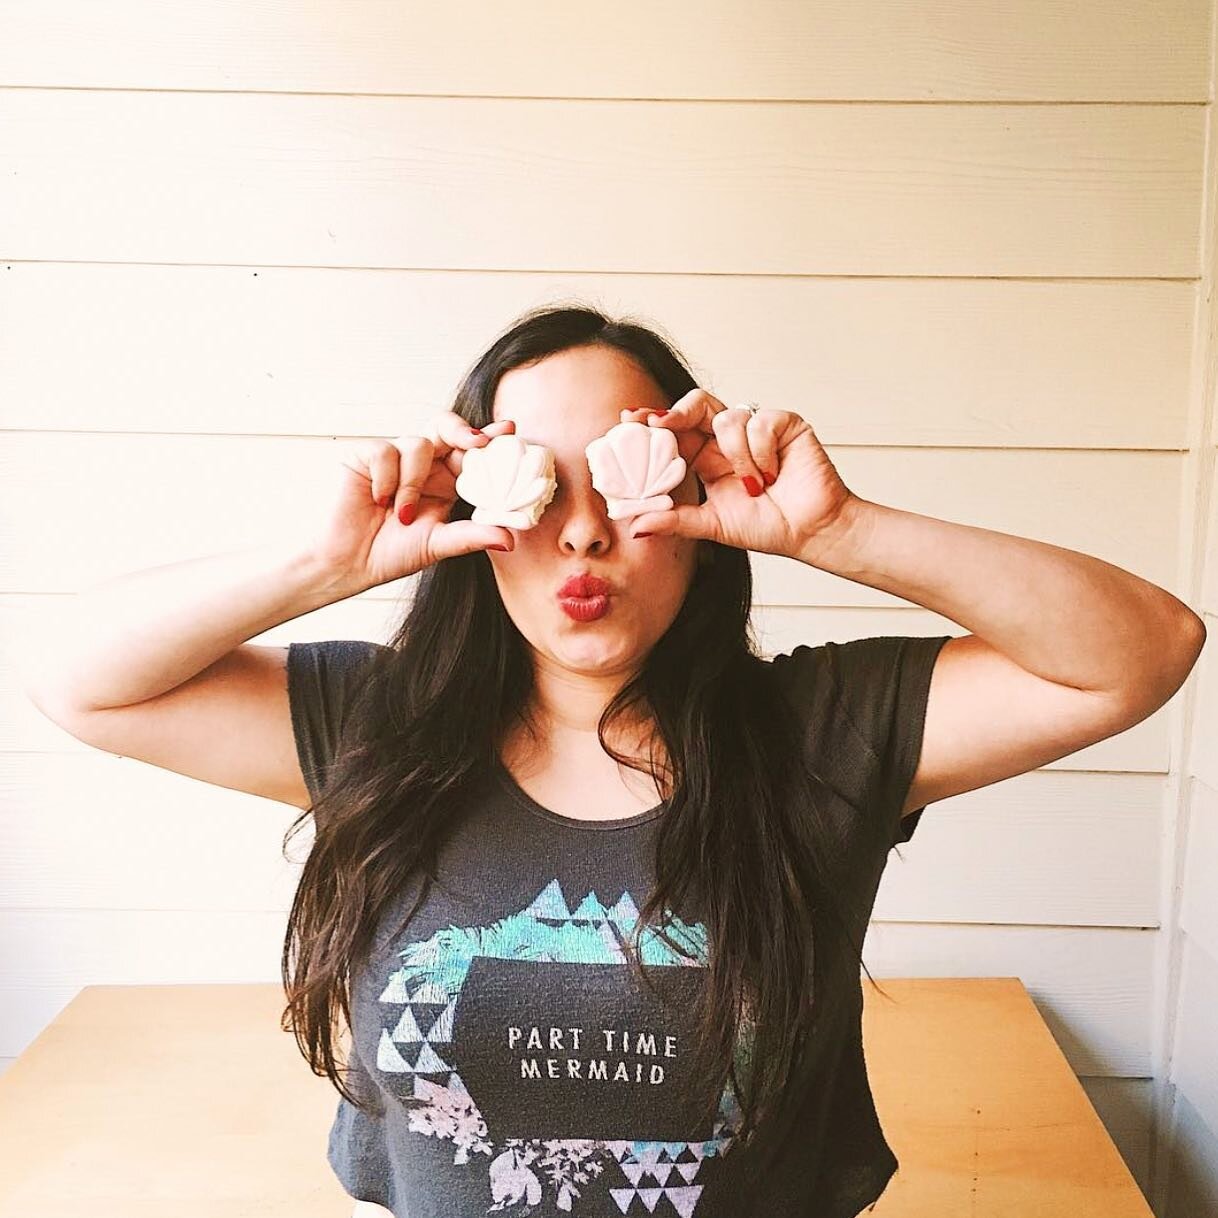
xoxo erica

DIY // Lipstick Kiss Cupcake Toppers

When valentines day comes around I'm always thinking hearts and x's and o's...you know the usual. Well this year I thought it would be fun to try lipstick kisses. To me they feel just a bit more glamourous. Aren't they just the loveliest with cupcakes?!? Try these out for your next party with the girls! Oh and the best part is that you probably already have all the supplies at home...so go put on your prettiest pinks and reds and make these now! 
1. Put on your favorite lipstick and kiss paper, cardstock would work best.
2. Cut out kisses
3. You will use 2 kisses to make 1 topper so you have a front and back. Apply glue and toothpick between kisses and press down.
4. Add to cupcakes!!
Yum! Happy lipstick kisses and cupcake making!!
xoxo erica

If You Want Something Do It Yourself: Pom Pom Garland


It seems that I'm hooked on making all different kinds of garland. Do you remember the tassel one I shared not too long ago? Anyway I'm getting pretty excited about Valentine's Day and decided to do one in the expected color scheme. This one was really simple and is one of those that is easy to do while watching your favorite show. There's not too much work that goes into it but the end result looks great.


Supplies
Pom Poms
Needle
Thread

The Steps
1. String thread through the eye of the needle and make a knot. 
2. Push needle through pom pom.
3. Make a pattern with your pom poms. I found it easier to let the pom poms collect together and gradually move them down the thread.
4. Separate each pom pom so that you have about half an inch between each.
5. Make a small loop on each end of the garland and hang.


xoxo erica