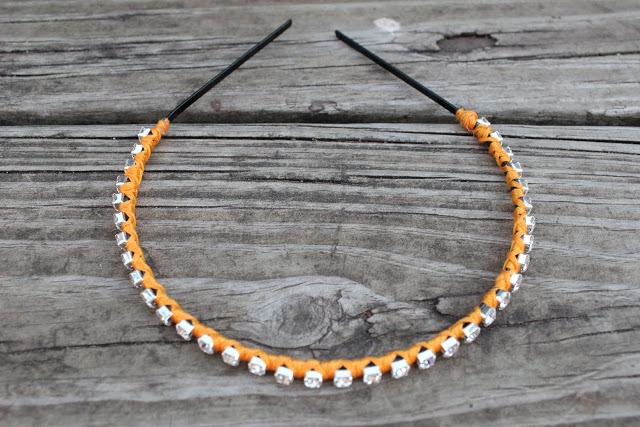

Hey, I'm back with another hair accessory. I wanted to make something really spring-y and fun for the Easter holiday. Oh and I especially love that it's such a statement piece...plus this mix of colors just makes me happy. This project was really easy, you just have to be patient between each coat of polish. Much like the enamel bobby pins, the possibilities of color combinations are just endless. My heart is already racing just thinking of a pretty one in mint!
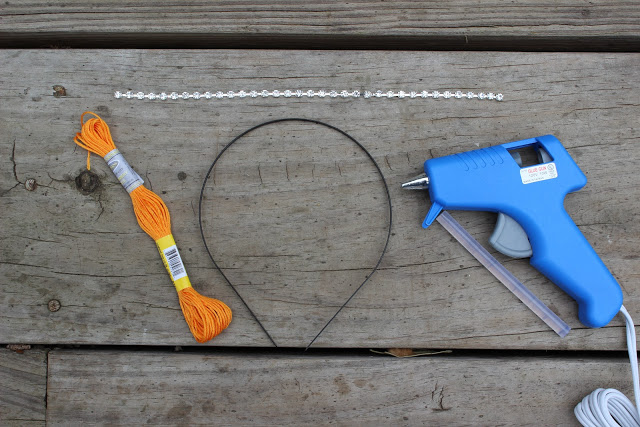
Supplies
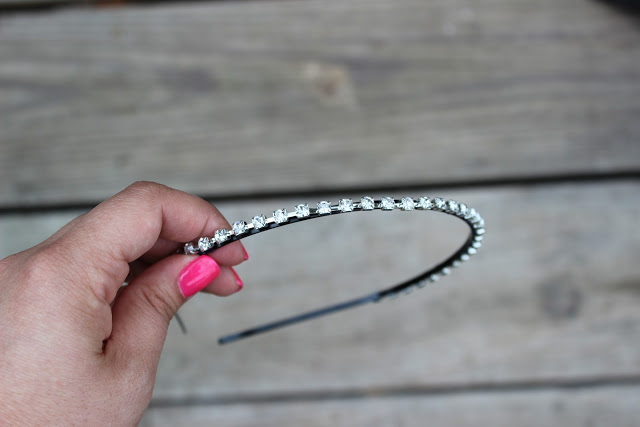
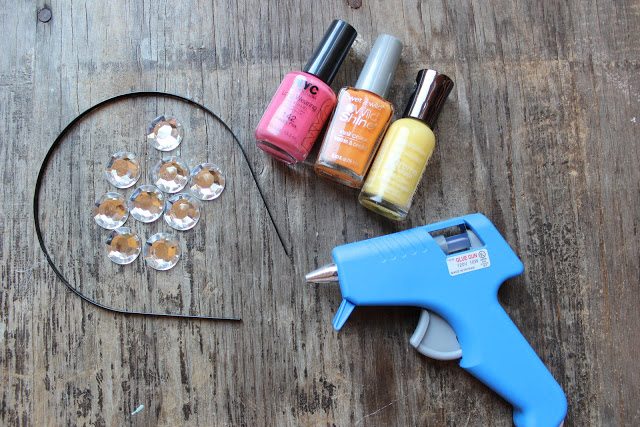
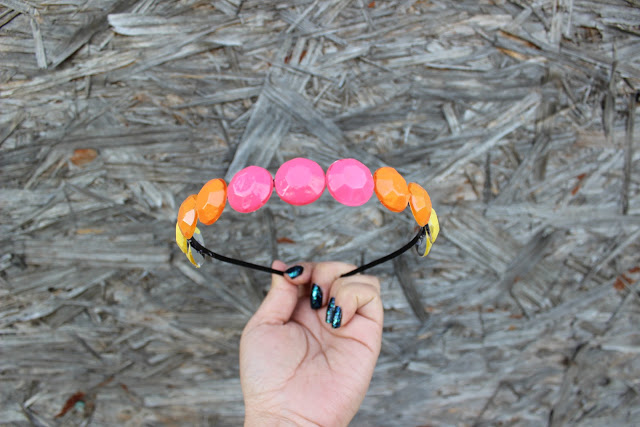
Rhinestones, Headband, Nail Polish, & Glue Gun
1. Paint each rhinestone with color of choice.
2. Let dry completely if wanting to add another coat
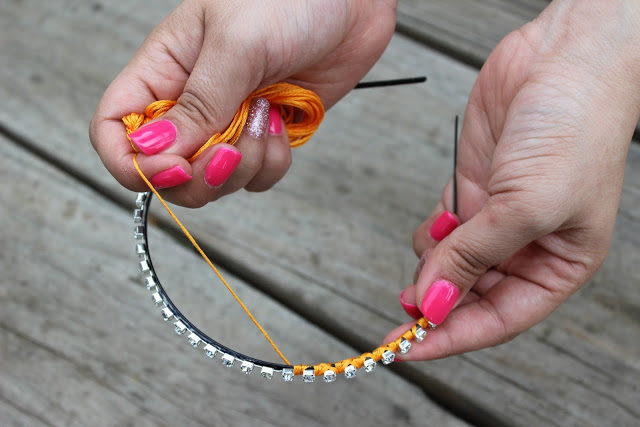
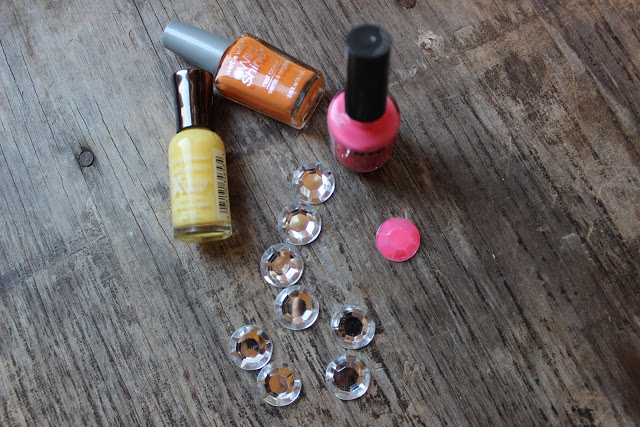
3. Start by adding glue to the center of the headband and attach rhinestone.
4. Repeat until you have your desired pattern
(add a thin strip of felt or cut into circles and add to back of
rhinestone for extra support and a cleaner look)
vvv ready to wear vvv

I tried this on when I only had the pink and orange added to the headband and really liked it with just the two colors but decided to add the yellow in the end. So if you don't want to add as many rhinestones as I did, don't worry, it will still look great. Just have fun with it.
xoxo erica